I'm Adam, owner and lead technician at Adam's Pool & Spa, and I've chased pool leaks across Long Beach, Manhattan Beach, and the South Bay for about fifteen years. The most common cause of a pool leak is a cracked or separated skimmer, specifically the seam where the plastic skimmer throat bonds to the concrete or gunite shell. That one joint accounts for more of the leaks I find than any other source. Below are the six causes I run into most, and exactly how to find each one before it quietly drains your pool and your wallet.
What is the most common cause of a pool leak?
The most common cause of a pool leak is the skimmer, and more precisely the joint where the skimmer meets the pool wall. Every pool has this seam between two materials that behave differently. The skimmer is molded plastic, the shell around it is concrete or gunite, and they heat up, cool down, and shift at different rates. Add years of ground settling under the deck and that joint eventually pulls apart and cracks. Because it lives below the coping where you never look, it can leak for months before anyone notices.
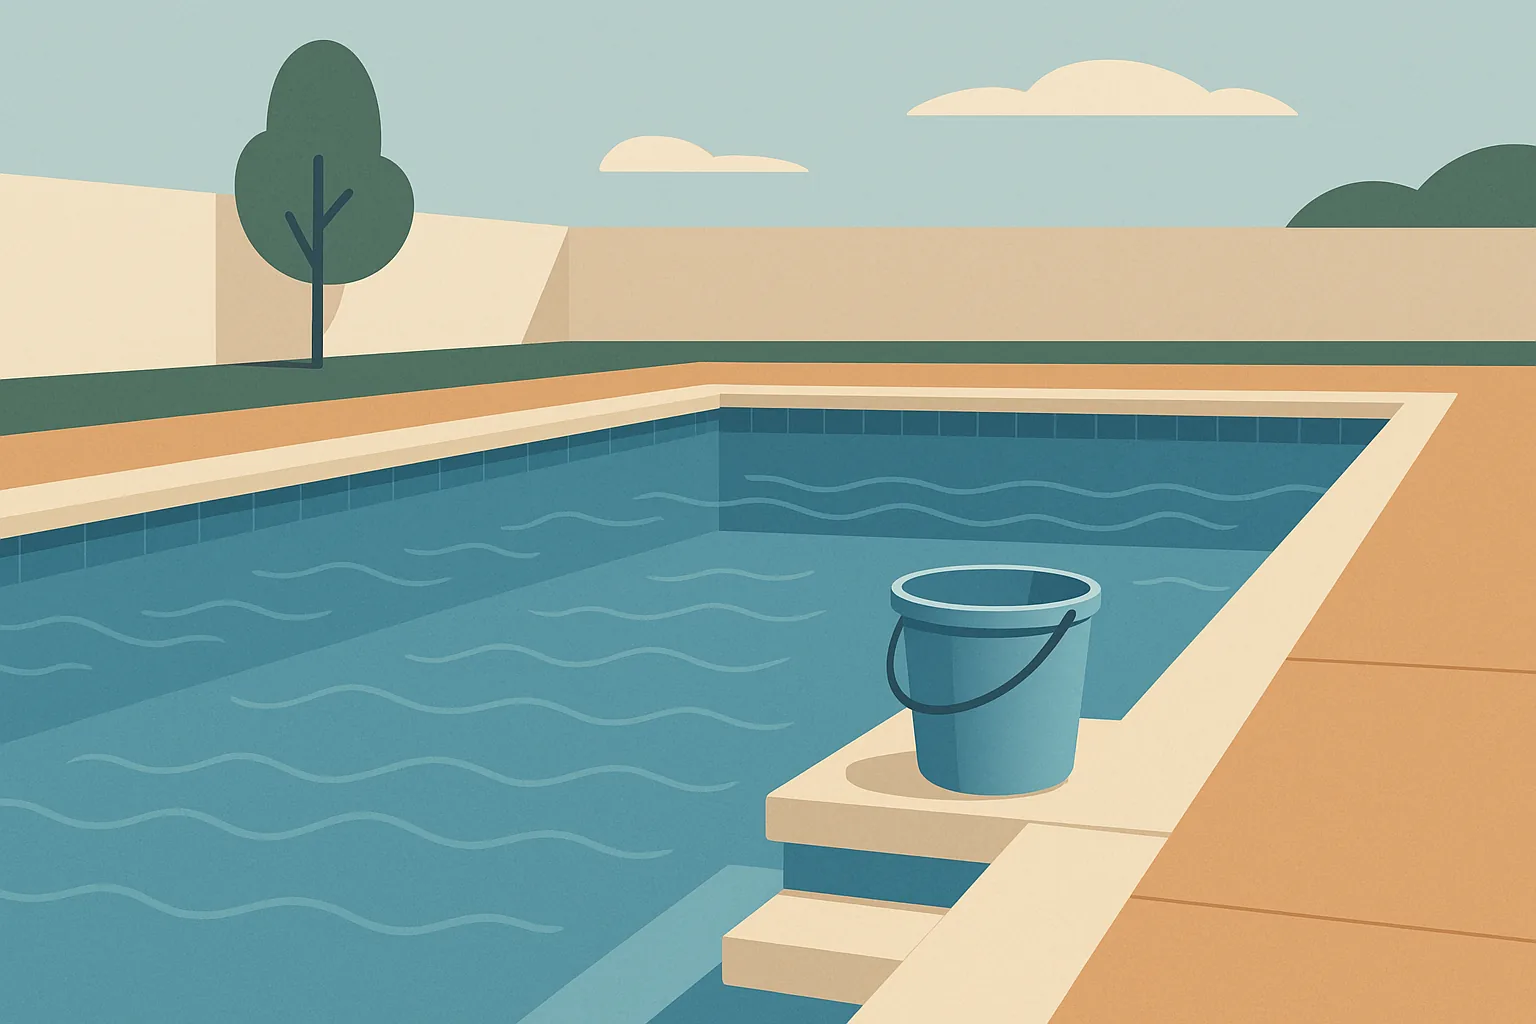
Before you hunt for the source, confirm you actually have a leak. Some water loss is just evaporation, which runs about a quarter to half an inch a day here, more on a hot dry week. The bucket test settles it: float a marked bucket on a step level with the pool, mark both water lines, and wait a day. Evaporation drops both the same. If the pool falls faster than the bucket, the difference is your leak. Once you know it's real, the six causes below are where to look, in the order I usually check them.
1. A cracked or separated skimmer
This is the one I find most, so it's where I start. The failure point is almost never the skimmer body itself but the seam between the skimmer and the pool wall, plus the throat that connects it to the plumbing. As that bond cracks, water escapes every time the level sits at or above the skimmer mouth.
To find it, drop the water below the skimmer opening and watch. If the level stops falling once it's beneath the skimmer, you've found your leak without touching anything else. To confirm the exact crack, turn the pump off, let the water go dead still, and release a little dye right at the skimmer seam. If the dye threads into the crack instead of drifting, that's your source. On an older Long Beach pool this is a routine repair, and catching it here saves you from tearing into anything bigger.
2. Underground plumbing lines and fittings
After the skimmer, the buried pipes are the usual suspect, especially the suction and return lines and the glued fittings where they connect. Decades of ground movement, tree roots, and the occasional freeze cycle work these joints loose. A plumbing leak often shows a telltale pattern: the pool loses water faster while the pump is running, because the lines are under pressure and pushing water out through the crack, rather than losing at a steady rate around the clock.
This is the one cause on the list that usually needs a pro. Underground lines can't be dye tested from the deck, so we pressure test each line and use listening equipment to pinpoint the break before anyone digs. That precision is the whole point. It lets us open one small spot in the deck or yard instead of trenching the entire run, which keeps a plumbing repair from turning into a demolition project.
3. Worn seals and O-rings at the equipment pad
Not every leak is in the pool. A surprising share of the water I trace ends up at the equipment pad, where the pump, filter, and valves all rely on rubber O-rings and gaskets that dry out and crack in our sun. A weeping pump lid O-ring, a filter tank clamp gasket, or a valve seal can lose real volume over a week, and because it drips onto the ground it evaporates and hides itself.
This one is the easiest to find, so it's worth checking early. Walk to the equipment pad with the pump running and look and feel for moisture around every seam, fitting, and drain plug. Damp soil, mineral crust, or a slow drip under the pump points you right to it. Most of these are inexpensive parts, and swapping a tired O-ring during routine service is far cheaper than letting it run for months.
4. Cracks in the pool shell and plaster
Sometimes the water is escaping through the structure itself. Fine surface crazing in plaster is normal and cosmetic, but a true structural crack in the gunite shell, or plaster that has worn thin and hollow after twenty-plus years, lets water pass straight through the wall or floor. These leaks tend to be steady around the clock since they don't depend on the pump, and they often show up as a wet or sinking spot in the surrounding deck or yard.
To find a shell crack, do a dye test along any visible crack line with the pump off and the water still, and watch for the dye to get drawn in. This is the cause most tied to resurfacing. When the leak is a single fitting you make a targeted repair, but when the shell or plaster is the source, a resurface fixes the leak and refreshes the whole interior at once. On older South Bay pools I often find a structural issue that a resurface, or in the worst cases new construction, is the right long-term answer for.
5. A worn waterline: tile, grout, and vinyl
The waterline takes a beating because it sits right at the surface where sun, chemistry, and splashing all hit hardest. On a tiled pool, cracked or missing grout and loose tile let water seep behind the finish. On a vinyl-lined pool, the liner shrinks, hardens, and tears with age, most often at the corners, steps, and around fittings where it's stretched tightest. A waterline leak usually stops the water drop at a very specific level, right where the damage sits.
Finding it follows the same logic as the skimmer. Let the pool drop naturally and note exactly where it settles, because water almost always stops falling at the level of the leak. Then dye test the grout line, tile band, or liner seam at that height. Catching a small tile or grout failure early keeps it from working behind the surface and becoming a much larger repair down the line.
6. Loose return fittings, main drain, and light niche
The last group is the fittings that pass through the shell: the return jets that push water back into the pool, the main drain at the deep end, and the light niche and its conduit. Each one is a penetration through the pool wall, sealed with gaskets and putty that shrink and crack over the years. A loose return fitting or a failed light-niche seal will wick water out slowly, and the light conduit in particular can carry water away underground where you'd never spot it.
To check these, dye test each return eyeball, the drain cover seam, and the ring around the light with the pump off. Watch for the dye to slip into the gap around the fitting rather than hang in the water. These are small, common failures, and they're a good reminder that a leak is rarely one dramatic hole. More often it's an aging seal doing exactly what seals eventually do.
How do I find where my pool is leaking?
Work from easiest to hardest. First confirm the leak with the bucket test. Next check the equipment pad, since a dripping seal is the fastest thing to rule in or out. Then let the pool drop on its own and note where it stops, because the water level almost always settles right at the leak. Dye test that height and any suspect fittings with the pump off and the water dead still. If the level keeps falling below every visible fitting, or you lose more while the pump runs, you're likely into an underground plumbing line, and that's the point to bring in leak detection equipment rather than guess.
The thread through all six causes is that a pool leak is almost always a small failure in one specific spot, not a mystery. Find the spot and the repair is usually modest. Ignore it and you pay twice, once in wasted water and chemicals and again in the damage that a slow leak does to the shell, the deck, and the equipment over time.
The questions Long Beach and South Bay pool owners ask us most when their water won't stay put, answered plainly.
Stop guessing and find the leak
You shouldn't have to watch your pool drop an inch a week and wonder whether it's evaporation, the skimmer, or something buried in the yard. Run the bucket test to confirm it's real, check the easy spots, and if the water is still disappearing after that, don't keep topping it off and hoping. Adam's Pool & Spa handles leak detection, repair, resurfacing, and construction across Long Beach, Manhattan Beach, and the South Bay, and we find the source before we quote the fix. Tell us what your pool is doing and a real technician will figure out where the water is going, no pressure and no upsell.
Adam is the founder, owner, and lead technician of Adam's Pool & Spa, serving Long Beach and surrounding LA County for about fifteen years. He is Jandy Certified and a Pentair Expert Installer, and he built the business on education-first, anti-pressure service, including the "Pool School" session every new client gets.